What Are Chocolate-covered espresso beans?
Chocolate-covered espresso beans are the perfect combination of two irresistible indulgences—rich, smooth chocolate and bold, energizing espresso. These treats offer a delightful blend of caffeine and sweetness, making them a popular snack for both chocolate lovers and coffee enthusiasts. Whether you’re craving a quick pick-me-up or looking for a unique gift, making chocolate-covered espresso beans at home is surprisingly simple and fun. With just a few ingredients and basic equipment, you can create these delicious bites in the comfort of your own kitchen.
Ingredients and Equipment
Ingredients
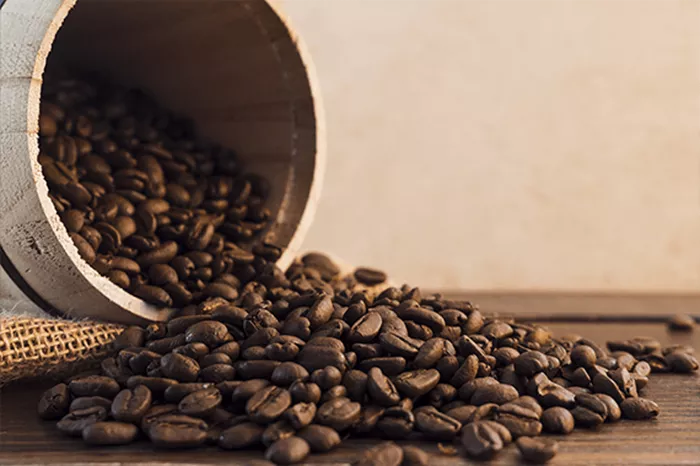
Espresso Beans: The star of the recipe, espresso beans are the best choice for this treat due to their bold flavor. You can use roasted espresso beans or choose other types of coffee beans depending on your personal preference.
Chocolate: The type of chocolate you use will greatly affect the final product. Dark chocolate is a popular choice for its rich, slightly bitter flavor that complements the bitterness of espresso. Milk chocolate offers a sweeter option, while white chocolate provides a creamy, less intense alternative.
Optional Add-ins: You may also want to add a pinch of sea salt for extra flavor, or a second layer of chocolate for a thicker, more indulgent coating.
Equipment
Double Boiler or Microwave: Used to melt the chocolate without burning it.
Parchment Paper: To prevent the chocolate from sticking as it sets.
Heatproof Bowl: For melting the chocolate (if using a double boiler).
Fork or Skewer: For dipping the espresso beans into the melted chocolate.
Cooling Rack (Optional): For letting the chocolate-covered beans cool more evenly.
Step-by-Step Process
Prepare the Chocolate
The first step in creating your chocolate-covered espresso beans is to melt the chocolate. You can either use a double boiler or microwave:
Double Boiler Method: Fill the bottom pot with water, making sure it doesn’t touch the top pot. Place the chopped chocolate into the top pot and heat gently over medium heat, stirring frequently until melted.
Microwave Method: Place the chocolate in a microwave-safe bowl. Microwave in short bursts of 20-30 seconds, stirring in between, until the chocolate is smooth and fully melted.
Regardless of the method, be sure to keep an eye on the chocolate to prevent it from burning. If desired, you can temper the chocolate to give it a glossy finish, though this is not necessary for a home kitchen.
Coating the Beans
Once your chocolate is melted and smooth, it’s time to coat the espresso beans. Using a fork or skewer, dip each espresso bean into the chocolate, ensuring that it is fully covered. For a more even coating, you can use two forks to lift and roll the beans, making sure they are completely submerged.
Cooling and Setting
After dipping, place the coated beans on a sheet of parchment paper. Allow them to cool at room temperature until the chocolate hardens. If you’re in a hurry, you can place the beans in the refrigerator for 10-15 minutes to speed up the setting process.
Tips for Success
Achieving a Smooth, Even Coating
For a professional-looking finish, make sure to stir the chocolate regularly as you melt it to prevent it from becoming too thick. If the chocolate becomes too thick to coat the beans properly, you can add a small amount of vegetable oil or coconut oil to thin it out.
Double Coating
For an extra indulgent treat, dip the beans in a second layer of chocolate once the first coating has set. This gives the beans a thicker, smoother layer of chocolate.
Flavor Variations
You can also experiment with flavors by adding a sprinkle of sea salt to the beans while they’re still wet, or even infusing the chocolate with spices like cinnamon or chili for a more complex flavor.
Storing and Serving
Once your chocolate-covered espresso beans have set and are firm to the touch, it’s time to store them. Place the beans in an airtight container and store them in a cool, dark place. They should stay fresh for up to two weeks, though they’re likely to be eaten long before that!
These beans can be enjoyed as a standalone snack, added to desserts like brownies or ice cream, or packaged as a thoughtful homemade gift. Their rich flavor and caffeine kick make them perfect for a mid-afternoon pick-me-up or an after-dinner treat.
Troubleshooting and Tips
Chocolate Not Setting Properly
If your chocolate doesn’t harden properly, it might be due to overheating or the addition of too much oil. Ensure you’re melting the chocolate gently and avoid adding too much liquid.
Beans Clumping Together
To prevent beans from sticking to each other, coat them one at a time and be sure they’re fully submerged in the chocolate. A fork or skewer can help keep them from sticking together.
Temperature Control
Be mindful of the chocolate’s temperature. Too hot, and it may separate or become too thin. Too cool, and it will be difficult to coat the beans evenly.
Conclusion
Making chocolate-covered espresso beans at home is not only a fun activity, but it also allows you to experiment with different types of chocolate and flavors to create a custom treat. The process is simple and rewarding, and there’s nothing quite like the satisfaction of enjoying a homemade delicacy or sharing it with others. Whether you prefer the bold richness of dark chocolate, the creaminess of milk chocolate, or the sweetness of white chocolate, chocolate-covered espresso beans are sure to become a favorite in your snack repertoire.
Related topics:
- What Coffee Beans Does Starbucks Use for Lattes?
- Can I Grind Coffee Beans in My Blender? A Comprehensive Guide
- Do Vanilla Beans Have Caffeine?


