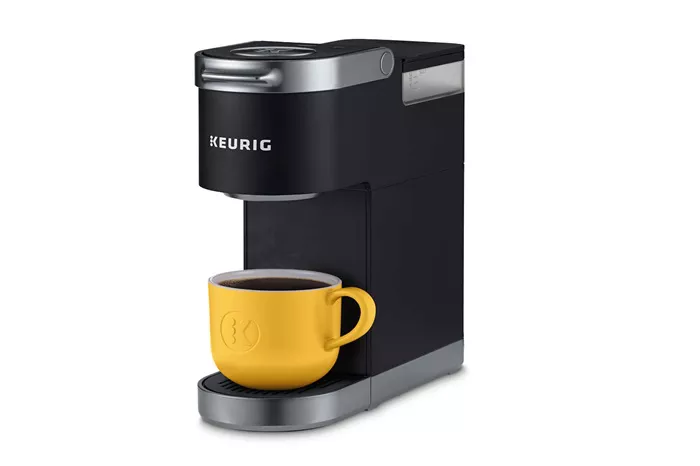
In the realm of home coffee brewing, Keurig has become a household name synonymous with convenience and quality. However, even the most reliable machines can encounter hiccups along the way, leaving coffee enthusiasts frustrated and caffeine-deprived. If you find yourself pondering over the question, “Why is my Keurig coffee maker not working?” fear not, for we shall delve into the depths of troubleshooting to uncover the possible culprits and solutions to revive your beloved brewing companion.
How Does a Keurig Work?
Before we dive into troubleshooting, it’s crucial to grasp the fundamental workings of a Keurig coffee maker. Keurig machines utilize a unique brewing system that involves puncturing a sealed coffee pod (commonly known as a K-Cup) and forcing hot water through it to produce a single serving of coffee. This process typically involves several components, including a water reservoir, a heating element, a pump, and a needle assembly responsible for piercing the K-Cup.
Common Issues and Troubleshooting Steps
No Power or Display Malfunction
The first thing to check if your Keurig isn’t working at all is whether it’s receiving power. Start by ensuring that the machine is plugged into a functioning power outlet. If it’s plugged in but still not powering on, try the following steps:
1. Verify that the power cord is securely connected to both the machine and the outlet.
2. Check for any tripped circuit breakers or blown fuses in your home’s electrical system.
3. Inspect the power button for any signs of damage or debris that might be preventing it from engaging.
4. If the machine still doesn’t power on, it may indicate a more significant internal issue, and you should contact Keurig customer support for further assistance.
Slow Brewing or Incomplete Brews
If your Keurig is brewing slowly or failing to produce a full cup of coffee, several factors could be at play. Here’s how to troubleshoot this issue:
1. Descale the machine: Mineral deposits from water can accumulate inside the Keurig over time, hindering its performance. Descale the machine using a descaling solution or a mixture of vinegar and water according to the manufacturer’s instructions.
2. Check water reservoir: Ensure that the water reservoir is filled to the appropriate level. If it’s low, refill it with fresh water.
3. Clean the needle assembly: The needle that punctures the K-Cup can become clogged with coffee grounds or debris, leading to brewing issues. Turn off the machine, unplug it, and carefully remove the needle assembly for cleaning. Use a paper clip or needle to clear any blockages.
4. Select a different brew size: If you’re using a larger brew size, try switching to a smaller size to see if it improves brewing speed and completeness.
Leaking or Dripping Water
A common complaint among Keurig users is water leakage or dripping during and after the brewing process. To address this issue, follow these steps:
1. Inspect the water reservoir: Check for any cracks or damage to the water reservoir that could be causing leaks. Replace the reservoir if necessary.
2. Tighten connections: Ensure that all connections, including the water reservoir, are securely tightened to prevent leaks.
3. Clean the exit needle: The exit needle, located at the bottom of the K-Cup holder, can become clogged with coffee grounds or debris, leading to leaks. Turn off the machine, unplug it, and carefully clean the exit needle using a paper clip or needle.
4. Descaling: As mentioned earlier, mineral buildup can interfere with the proper functioning of the Keurig, leading to leaks. Descaling the machine regularly can help prevent this issue.
Error Messages on Display
If your Keurig displays error messages or indicators, consult the user manual for troubleshooting guidance specific to the error code. However, some general steps to address error messages include:
1. Power cycle the machine: Turn off the Keurig, unplug it from the power source, wait a few minutes, and then plug it back in and power it on again. This simple reset can sometimes resolve minor issues.
2. Check for obstructions: Inspect the needle assembly and K-Cup holder for any obstructions or blockages that may be triggering the error message. Clear any debris and try brewing again.
3. Contact customer support: If the error message persists despite troubleshooting efforts, reach out to Keurig customer support for further assistance. They can provide guidance on resolving the issue or arrange for repairs if necessary.

