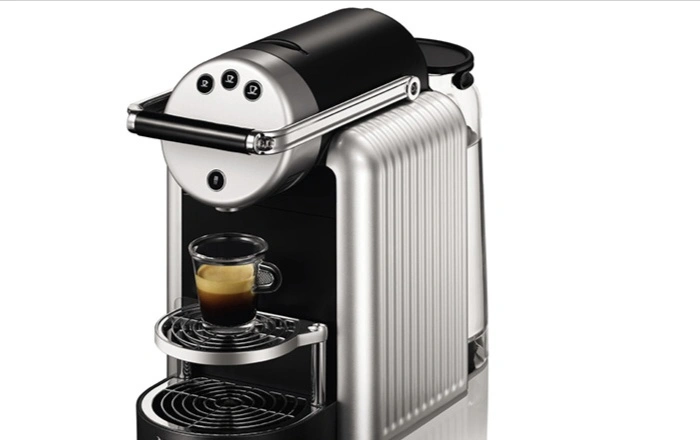
Keeping your Nespresso machine in top condition ensures delicious coffee every time. One crucial maintenance step is descaling, which removes mineral buildup from hard water. This guide covers everything you need to know about using descaling solution for Nespresso machines.
Why Descaling Your Nespresso Machine Is Important
Over time, minerals like calcium and magnesium accumulate inside your machine. This buildup can:
- Reduce heating efficiency – Slower heating affects brew temperature.
- Clog water pathways – Leads to weaker coffee or machine malfunctions.
- Shorten machine lifespan – Regular descaling prevents costly repairs.
Nespresso recommends descaling every 3–6 months, depending on water hardness and usage.
Choosing the Right Descaling Solution
Not all descaling solutions are the same. For Nespresso machines:
- Use Nespresso’s official descaling solution – Formulated specifically for their machines.
- Vinegar is not recommended – It leaves a strong odor and may damage internal parts.
- Third-party solutions – Only use if labeled safe for Nespresso.
Preparing Your Nespresso Machine for Descaling
Before starting, ensure:
- The machine is cool – Avoid burns from hot surfaces.
- The water tank is empty – Remove any remaining water.
- No capsule is inserted – The machine should be empty.
Step-by-Step Descaling Process
Step 1: Enter Descaling Mode
Most Nespresso machines have a descaling mode:
- Turn on the machine and wait for it to heat up.
- Press and hold both buttons (for OriginalLine) or follow your model’s instructions.
- Confirm descaling mode when prompted.
Step 2: Mix the Descaling Solution
- Fill the water tank with 500ml of warm water.
- Add the descaling solution (follow bottle instructions).
- Reattach the tank to the machine.
Step 3: Run the Descaling Cycle
- Place a large cup or container under the coffee outlet.
- Start the descaling process – The machine will pump the solution through the system.
- Let it run completely – This may take several minutes.
Step 4: Rinse the Machine Thoroughly
- Empty and rinse the water tank.
- Refill with fresh water.
- Run 2–3 rinse cycles to flush out any remaining solution.
Post-Descaling Care
After descaling:
- Wipe the machine with a damp cloth.
- Brew a test shot (without a capsule) to ensure no solution remains.
- Check for leaks – If issues persist, contact Nespresso support.
Troubleshooting Common Descaling Issues
Machine Won’t Enter Descaling Mode
- Check the manual – Some models require specific button combinations.
- Reset the machine – Unplug for 30 seconds and retry.
Strange Noises During Descaling
- Air bubbles in the system – Normal during the process.
- Gurgling sounds – Usually harmless, but monitor for leaks.
Residual Descaling Taste
- Rinse again – Run additional water cycles.
- Use filtered water – Prevents quick re-mineralization.
Alternative Descaling Methods
If you can’t get Nespresso’s solution:
- Citric acid solution (food-grade) – Mix 1 part citric acid with 10 parts water.
- Lemon juice (temporary fix) – Less effective but works in a pinch.
Maintaining Your Nespresso Between Descalings
- Use filtered or soft water – Reduces mineral buildup.
- Clean the drip tray and capsule container weekly.
- Wipe the exterior regularly to prevent grime buildup.
When to Seek Professional Help
If your machine:
- Still has flow issues after descaling.
- Shows error messages persistently.
- Leaks excessively – May indicate a seal problem.
Conclusion
Descaling your Nespresso machine is simple but essential. By following these steps every few months, you’ll enjoy better-tasting coffee and extend your machine’s life. Always use the right solution, rinse thoroughly, and maintain good habits between cleanings. For model-specific instructions, refer to your Nespresso manual or their official website. Happy brewing!
Related topics:
Nespresso Cold Brew Vertuo: A Revolution in Coffee Enjoyment
How to Brew Espresso in Keurig
How Many Shots of Espresso Are in a Latte


